Creating screenshots
Each one of you, who was in the situation of writing a user manual, certainly used one of the options for capturing screen content. To remind you, by pressing the PrtScr or SHIFT + PrtScr (shortcut from the Print Screen) key, the full screen image is transferred to the computer’s memory. Pressing Alt + PrtScr camptures only the contents of the active window. Some recent versions of Excel have an option that allows you to capture screen content.
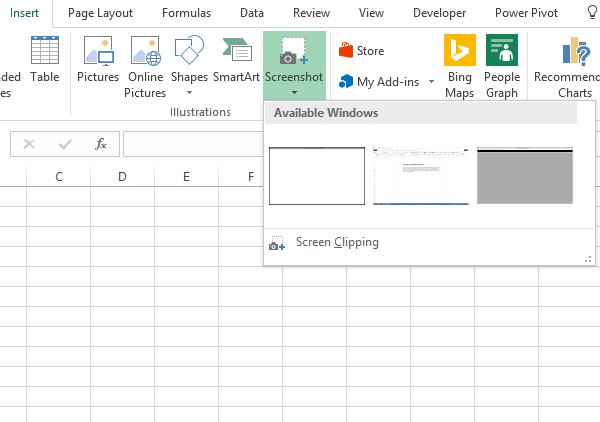
If you are positioning on the Insert ribbon there you will find the Screenshot option. Clicking on the arrow on the bottom of this option opens a menu where you can see all currently open Windows windows whose contents you may want to save. Clicking on one of the windows takes a picture of its content and transfer the image to the worksheet you are currently in.
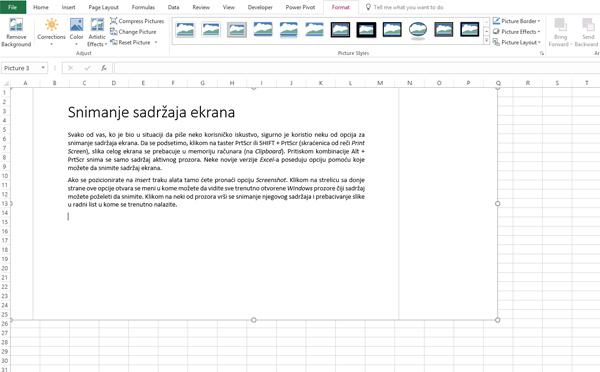
 Clicking the Screen Cliping button at the bottom of this window enters a tool that allows you to cut part of the screen that you want to switch to Excel. After the operation is completed, the cut part of the screen becomes the contents of the document. By automation, the application will transfer you to the Format ribbon, as you have added the image in this way, and it is assumed that you want to perform some other interventions before you finish working with it.