
Microsoft Planner
Planner is a service for managing simple projects. It comes as part of an Microsoft 365 subscription, and is reminiscent of tools like Jira or Trello. It is used to assign and track tasks within a team using the Kanban board interface, and is ideal for teams that manage task-based agile projects, where they can attach files, add comments, track progress through charts, etc.
Microsoft Planner is integrated with services such as Teams, Outlook, and SharePoint, making it available on the web and mobile devices. It is triggered by selecting from the microsoft365.com portal, or directly using the link https://planner.cloud.microsoft.
Once you’ve launched Planner, you’ll be on the home screen. On the left side of the menu there are three items: My Day, My Tasks, and My Plans. Below is also the Pinned Items menu where you can pin important items that you want to use again.
The My Plans menu contains all your plans. They are organized by tabs: Recent, Shared, Personal, Pinned, and Recommended. In the Recent tab, you see the plans you’ve recently worked on. To add a new plan click on New Plan button. In the list of existing ones, you can open each plan, change its name, pin it to the Pinned Items list, hide it, or copy the link that leads to the plan.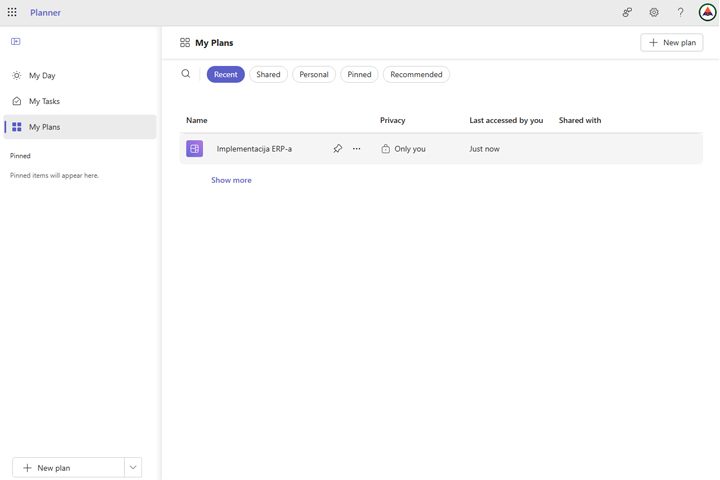
If you open the plan, you will see that it consists of several tasks that are grouped into phases – buckets. There can be as many of them as you want, and in our example we have three: Planned, In Progress and Finished.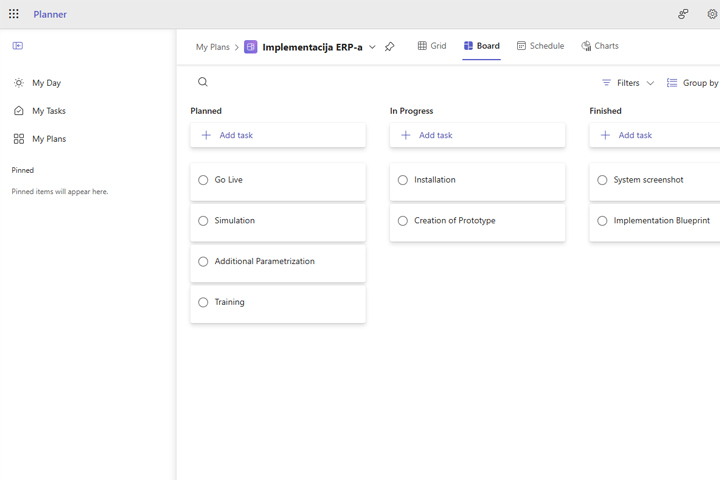
By clicking on Add Task, you add a new task and place it in one of the buckets. On that occasion, you give it a name, a deadline and assign an executor.

Subsequently, it is possible to assign a label to the task, which marks it with a specific color for easier tracking. We can copy it, copy the link, subsequently assign it to the executor, move it, delete it… Moving can be done from the context menu or by dragging a task to another bucket. When we move a task, it means that it has moved on to a different phase of the project.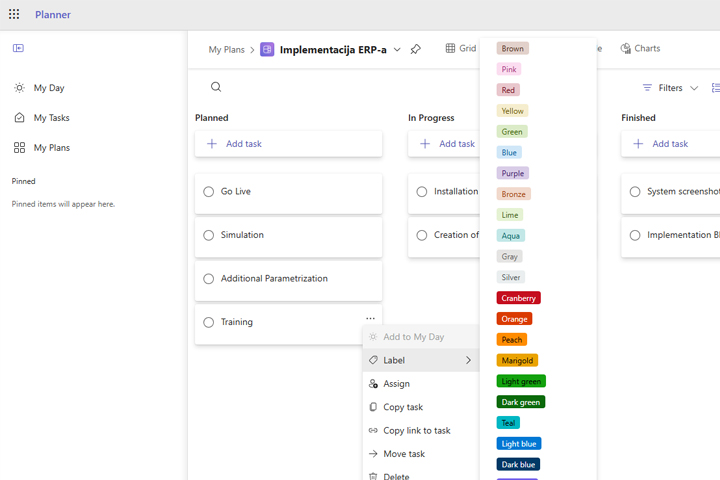
In the course of work, we can change the view of the project by selecting the following options: Grid (displays all activities), Board (displays activities on the Kanban board), Schedule (displays activities on the calendar) and Charts (provides statistics in the form of charts). The Filters menu allows you to filter items by various criteria, and the Group By Bucket allows you to group by phases.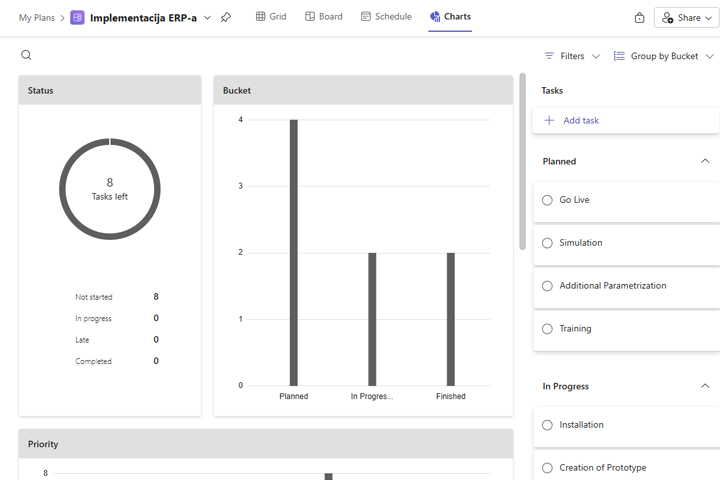
The Share button allows you to share a project within a SharePoint group or create a new group. Logically, in this way, the application can be integrated with MS Teams and thus keep track of our projects. Please note, this is not an application for complex Waterfall projects, you need MS Project there.