
Connecting with a database
Excel is a software with lots of features, but perhaps its best application is data analysis. In order to have something to analyze, we must retrieve the data. Operational data are held in relational databases, so we should connect to DBMS. Most of the time it is and istance of Microsoft SQL Server. When connecting we’ll importing a content of a table, view or result of a query into Excel worksheet.
Excel lets you connect  to different databases, and in this example, I will show you how to connect to Microsoft SQL Server. To connect to the SQL database, first click on the Data ribbon, open the From Other Sources menu, and then select From SQL Server. A dialog window will open that takes us, in a few steps, through the process of creating a database connection In the first step, we need to specify the name of the SQL server that we are connecting to and select the login method. The method of logging on the server depends on its security settings. If we have a domain account, we need to select Windows Authentication. Otherwise, you need to enter your username and password to log in to the database after selecting Use the following User Name and Password. If you have any concerns about logging in to the server, consult the database administrator of your company. By clicking Next, we are going to the next step in the process of connecting to the database.

When we log into the server, we select the database with which we want to connect. In the start, a connection to the Master database will be offered, which is used for setting up SQL server properties (which we probably want to avoid). By selecting from the drop-down list, you need to choose another database, which contains the information that we want to retrieve to Excel. Beneath the list there are two checkbox controls that allow us to determine whether we will only link to one table or we want to select more than one. When making a connection, we do not necessarily have to connect with the tables, but we can also access the database views whose names, together with the table names, will be showed in the list. After selecting one or more tables/views, click on the Next button. Before creating a connection, there will be another window in which we confirm the selected connection options. If everything is right, click Finish to finish the connection process.
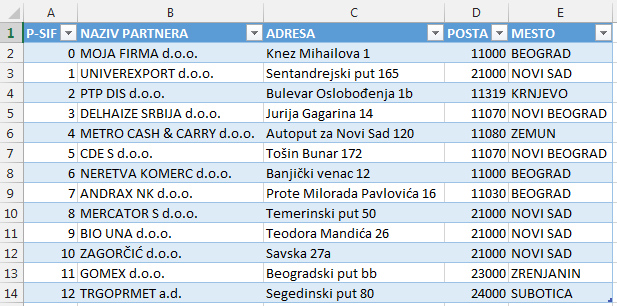
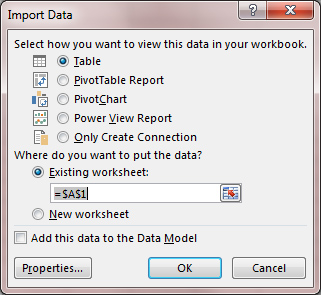 In the last displayed window, we still need to select where we export data (structured table, Pivot table, Pivot chart, PowerPivot table or indicate that we are only creating a connection), whether we export them to some place in the existing worksheet or we want to create a new worksheet , and whether we want to add data to the Data Model. If, for example, selecting exports in a structured table will display the selected table with the data taken from the database.
It is important to note that changing  imported data does not simultaneously change the data in the database. Also, after data in database do change, it is necessary to update them. We do this by clicking on the Refresh menu in the Data ribbon and choosing the Refresh option (refresh data in the current table) or Refresh All (to refresh data in all tables). In the Refresh menu, there is an option called Connection Properties. By choosing this option the dialog box opens with contains two cards. The first Usage card indicates the properties of a link and contains, among other things, options by which we can adjust how often a refresh of the created connection to the database will be made. The second Definition card has connection features. Within it, we can change the way we are connected with the database, for example, to choose a connection to another database or even to write the SQL query based on which we download data from one or more tables and we pluck the result into a worksheet.
