
Calculated columns manipulation
In one of previous recipes we were talking about basic concepts of DAX, where you’ve got acquainted with calculated columns. Now let’s say something about how to manipulate them within the table that exist in the Data model. First, we will show how to filter them, then how to remove filters and how to perform sorting. Then we will be talking about adding a new column, “freezing” and “unfreezing” columns, changing the column width, renaming…
When the table was added in the Model it behaves similarly as a structured table. In the header of each column is the icon that resembles an arrow facing down. Clicking on it opens a Filter menu that has the same function as the one we should see when we run the AutoFilter. It enables search, filtering or sorting the contents of the table by the selected column.
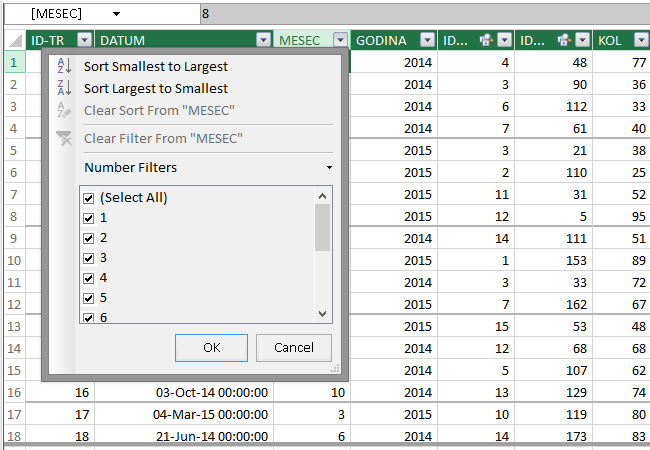
Sorting can be performed in several ways, in ascending or descending order. 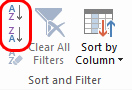 First you need to select the column. It is done by positioning just above its header. The cursor will then turn into a black downward arrow. By clicking the left mouse button you will conduct selection and column will change color. Sorting is being done then we click on one of the icons provided in the Sort & Filter group. If we want to give up the sort click on the icon below (Clear Sort).
In this group, there is also the option Sort by Column. It allows you to sort a column based on value of other column. For example, the entire table can be sorted according to the months when the transaction took place, and that the pre-sorted according to age. Clicking on this icon opens a menu with two options. The first is used to start options Sort by Column, and the other to remove the sorting. After you run the first option a dialog window in which we take the names of two columns on the basis of which the sorting. The Clear All Filters in the Sort & Filter group is used to remove all previously created filters.

On the Design ribbon, there are several options for manipulating columns. Add option is used to add a new calculated column. By clicking on it the cursor will be positioned at the last column of the table, under the heading Add Column, and at the same time will start the input formula for setting the value of the calculated column. If we have previously created calculated column we can delete it by using Delete option. By clicking on the Width we can change the column width, so we should enter a new width in the dialog box that appears on the screen.

If we want, we can also freeze one or more columns. 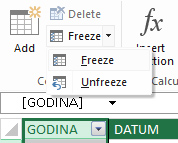 This is usually done when we have a large number of columns in the table, and we want some of them still to see when adding new calculated columns. Freezing is done by highlighting one or more columns, and then from the menu choose Freeze option. Opposite action is done by selecting Unfreeze from the earlier mentioned menu.
Double-clicking on the header of the table activate process of changing its name. The text in the header will change color, and then you only need to enter a new name and press ENTER.
The above options can be also started from context menu of a selected column. Only you should make a selection, right-click on a selected column, and menu with options we have mentioned will appear.
